Happy Saturday and welcome to the Stamp It Group April 2016 Mother’s Day Blog Hop!
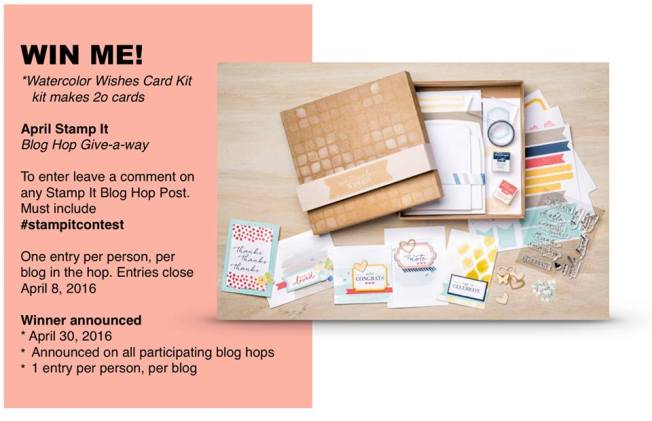
There will be lots of awesome projects here today that will give you some great ideas on creating your own Mother’s Day card. Don’t forget to leave a comment on my blog and all the blogs to be entered to win the fabulous prize shown below.
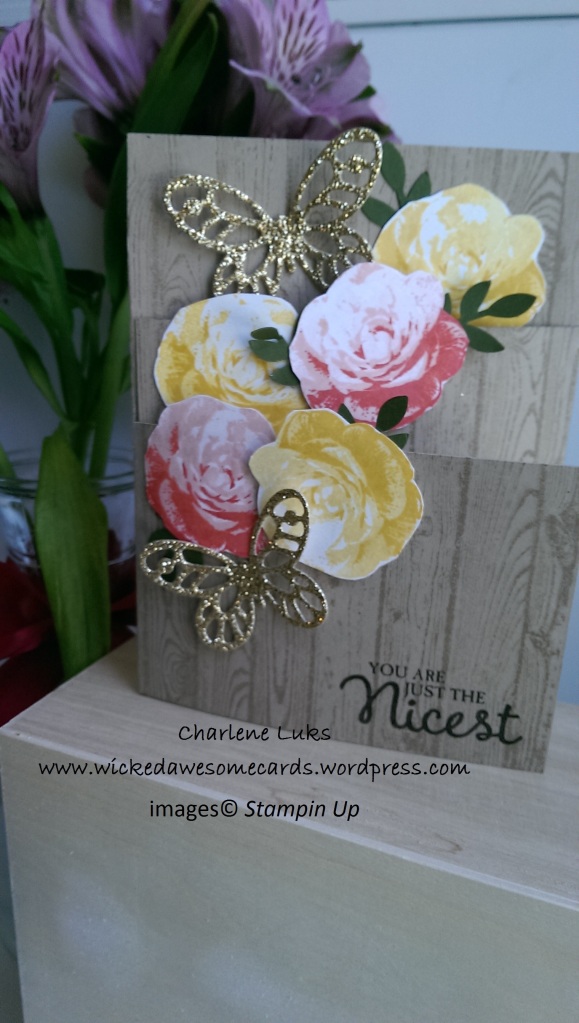
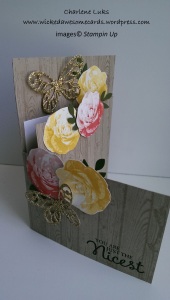
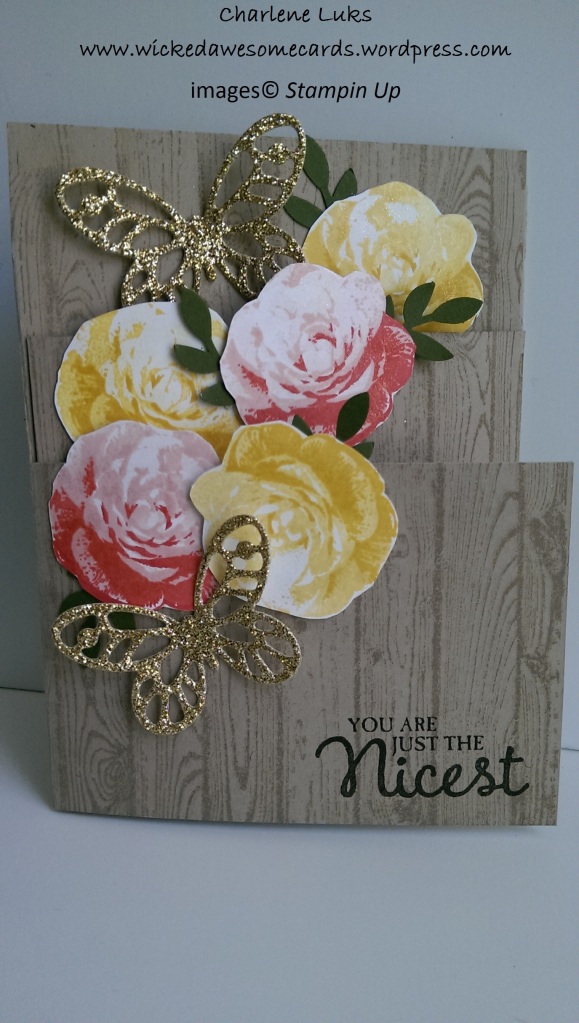
I have created this special card today in honor of my late mother and my step-mom. My mother LOVED yellow roses and my step-mom loves them all but particularly pink ones. I love how this tri-fold card shows off the beautiful roses on each turn of the page. Here’s how I created it!
You will need one sheet of crumb cake cardstock cut at 5 1/2″ on the landscape side. Score both at 4 1/4″. You will need both pieces to create this card.
Start with one piece of the cardstock and line it up on the portrait side on your Stampin trimmer. Line the end up to 4″ and cut down to the score line with your cutting blade. Repeat this on the other piece of cardstock and cut at 3″ down to the score line. Take your paper snips and cut down the score line to where you have made your 3 or 4″ cut. (The video will probably make this clearer…) Before you adhere your cards together stamp the front sections of your card with the Hardwood background stamp and crumb cake ink. You now have the two pieces you will need to adhere together. Adhere the pieces together with Tombow multi-purpose glue so that the front of the card has the 3″ panel in the front and the 4″ panel behind it.
Now you can stamp 5 of the rose images from Picture Perfect. I stamped the yellow roses in So Saffron, Daffodil Delight and Crushed Curry, in that order. The pink roses were stamped with Blushing Bride (stamp off on the first stamp) and Watermelon Wonder. Fussy cut them out all the way to the edge of the image. I punched out the leaves on the Bird Builder Punch with Mossy Meadow cardstock, around 5 or 6.
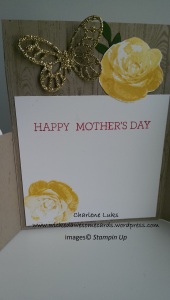
I stamped another yellow rose on my inside piece of whisper white cardstock measuring 4″ by 3 3/4″ down towards the bottom. I then added my sentiment in Watermelon Wonder and adhered to the inside of the card.
Starting on the top of the inside panel, I adhered a rose, a leave and a butterfly cut in Gold Glimmer cardstock with the bold Butterfly Framelits. At the top of the 4″ panel, I adhered a yellow and pink rose with leaves. And to finish off the front of the card, I adhered another yellow and pink rose, leaves and a butterfly. I then used Early Expresso ink to stamp the sentiment from Picture Perfect on the front lower panel of this card. Love it~
I also gave this card a little pizzaz and added Clear Wink of Stella brush to all roses. Sooo pretty!
Check out my You Tube video tutorial on how to create this card!
Don’t forget to leave your comment on my blog and all the blogs in this hop to be entered to win this fabulous prize. Be sure to mention #stampitcontest!!! In order to be eligible to win, please be sure to include your full name and email so we can contact you.
BLOG HOPPERS
| 1. | Tami White | |
| 2. | Pam Nichols | |
| 3. | Elizabeth Jeanne | |
| 4. | Oksana Semenska | |
| 5. | Sheri Meyer | |
| 6. | Charlene Luks | |
| 7. | Lori Mueller | |
| 8. | Liz Miller | |
| 9. | Gianna Sardella | |
| 10. | Bobbie Crouch | |
| 11. | Teresa Howe |
(Linkup closed)
powered by InLinkz


nice card. #stampitcontest
LikeLike
#stampitcontest Love the way you have done the butterflies in Gold. TFS
LikeLike
Beautiful card! I loooove the golden butterflies! #stampitcontest
LikeLike
Love the fence idea! 🙂
LikeLike
Thanks Cindi!, me too!
LikeLike
Great instructions! Thank you foer this great card! #stampicontest
LikeLike
🙂
LikeLike
Such a great idea!!! #stampitcontest
LikeLike
Love the fold, and love those Picture Perfect roses! (Your blog is new to me — also love the name! 😉 ) #stampitcontest
LikeLike
Thanks Tracy! Welcome to my blog…hope you enjoy!
LikeLike
#stampitcontest Ooh! Such “pretties”! I love flowers! Thanks and God bless! ILuvTheEucharist (at) aol.com
LikeLike
Thanks Rose!
LikeLike
love the roses. Really like the whole design of card.
LikeLike
Thanks Sharon!!!
LikeLike
#stampitcontest I love this fancy fold card and your wonderful instructions.
LikeLike
Thanks KT!
LikeLike
#stampitcontest
I love the special fold and dimension of your project
LikeLike
Thanks Mary!
LikeLike
Love the card . #stampitcontest
LikeLike
#stampitcontest Roses can’t go wrong.
LikeLike
#stampitcontest – Lovely card
LikeLike
#stampitcontest – love this card!
LikeLike
#stampitcontest
Nice card
LikeLike
Absolutely beautiful! #stampitcontest
LikeLike
#stampitcontest
Really like this card! Very nice!
LikeLike
You are very creative. Never would have thought to do what you did on this card! #stampitcontest
LikeLike
Thanks Gail!!!
LikeLike
Unique layout and design! Great video! #stampitcontest
LikeLike
Thanks Beth!
LikeLike
I love this card, so creative!
LikeLike
I forgot to put #stampitcontest…ooopppsss!
LikeLike
#stampitcontest Thank you for sharing your instructions on how you made your pretty card – I LOVE it when people share their “recipes” for their cards!
LikeLike